If you have stumbled across this, then that means that you’re interested in doing some scale modelling, and that you want to build a miniature plastic model in your spare time. Be it a tank, ship, plane, car or robot, you’re here because you want to get to know the basics from someone who has been engrossed in the plastic hobby for a few years.
Note that I am nowhere near an expert at this hobby, and that I’m more of an emerging intermediate rather than an advanced builder, but over my time building models, I’ve come to realise several tips and tricks that could be useful for someone who is literally just starting out and has no idea what to do.
If you’ve just bought your first model kit and you want to know how to get it built like the artwork on the box, then I could perhaps give you a few tips and tricks to get you moving along the way.
I’ll start with the basics first. The first thing you would need before building a model kit is 1) a model, and 2) the right tools and equipment.
Normally, if you’re already familiar with the ins and outs of modelling, then I would just say that you can choose a model to your liking. If you’re a complete novice though, I would strongly recommend that you stick to certain types of kits unless you wish to see your dreams of building a 1/700 aircraft carrier spontaneously combust as you lose all the tiny parts and end up ruining the paintjob. Ships would be a no-no for me, as would modern fighter craft as they tend to be a bit too complicated for a beginner. If you’re into military models, then I would suggest that you stick to 1/35 tanks or 1/48 WW2 aircraft, as these tend to have larger parts and are more forgiving if you make some mistakes. I personally recommend Tamiya kits, which are a joy to put together and require minimal fuss for a pleasant building experience. If you’re a fan of science fiction, there are some good snap-fit Star Wars kits by Bandai to help you get into the groove, along with their much-vaunted Gunpla line of model kits based on various Japanese robot series.
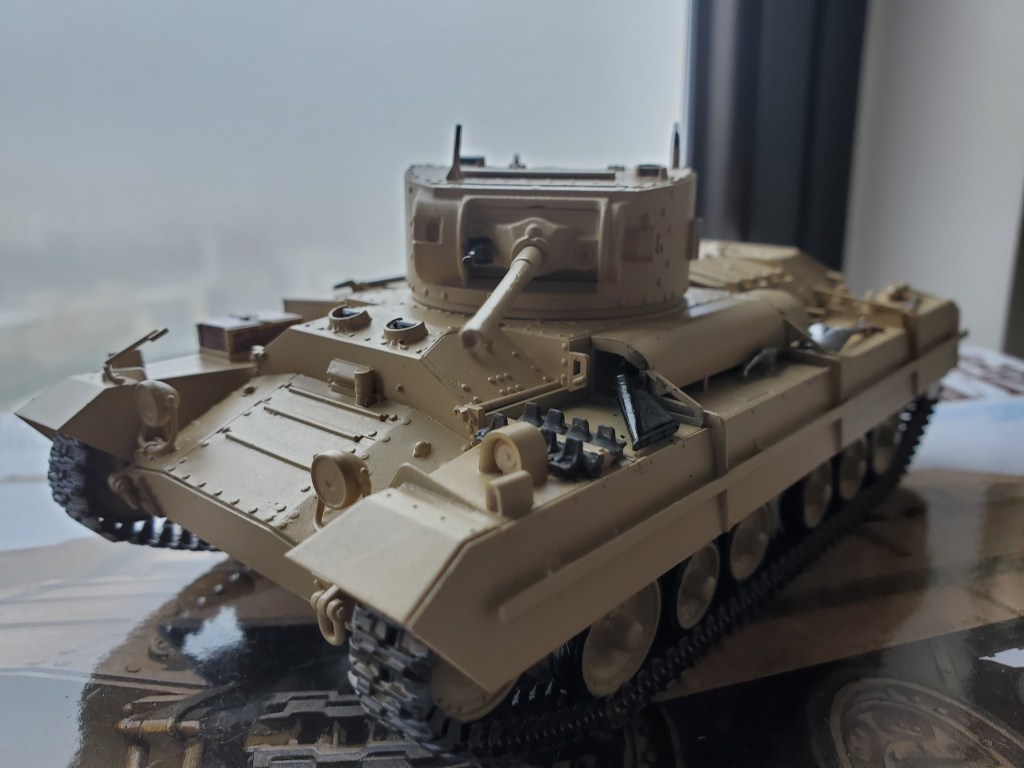
For this tutorial, I’ll be using a 1/35 M26 Pershing from Tamiya to explain some very basic teachings.

The next part is more complicated and will probably take some more time to explain. This involves the tools.
Before we go on, it’s important to mention that safety comes first, and that most if not all of these tools are potentially hazardous and can cause grievous injuries to one if not careful. So keep in mind that you really shouldn’t be dozing off while building a kit unless you wish to lose a few fingers.
With that out of the way, it’s time to introduce you to some of the essential tools of the trade:
- Nippers

Probably the most important tool since these are supposed to be used to actually cut out the plastic parts. I know some people might use nail clippers because they don’t want to actually buy a pair, but if you really want to get the best experience, please invest some good money in buying a good pair of nippers. They’ll last you a very long time and will save you a lot of pain and money in the long term. I personally use a pair of Tamiya nippers, but any other reputable brand will do as long as it’s not some bizarre knockoff brand.
2. Hobby knife
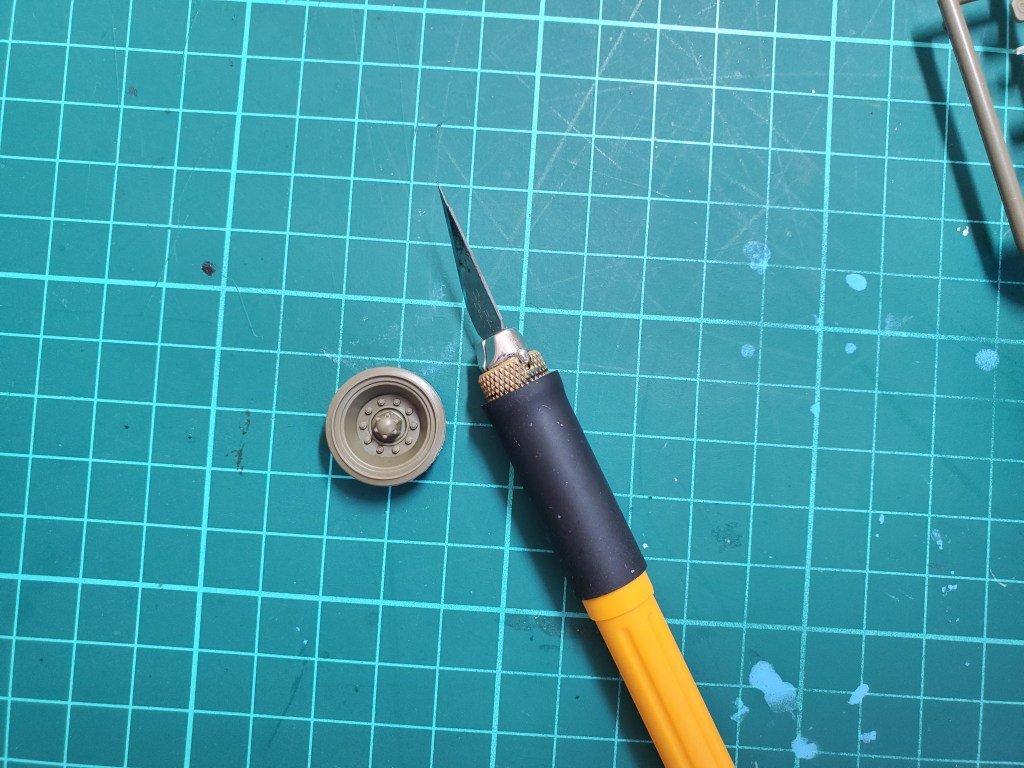
It’s debatable whether this is actually necessary, but I personally think that it is essential if you want to make some clean cuts on your plastic parts. While I tend to cut the parts off the sprue with nippers as cleanly as possible, it’s best to leave a tiny bit to shave off with a knife to leave the least amount of residue on the plastic part. I’ve got an OLFA knife, but I know that X-Acto knives aren’t too bad either and have good value. When using it, keep in mind that the blade is really sharp and could probably kill. So pay attention if you wish to use it in shaving plastic parts off.
3.Plastic cement
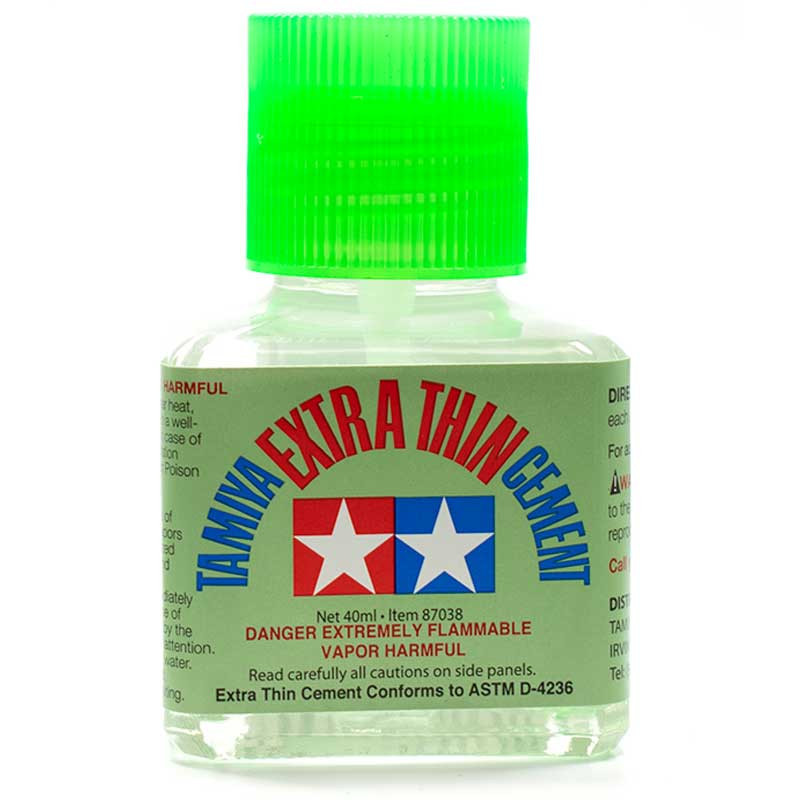
If you’re building a snap-fit kit, you might not need this, but I’d suggest you buy some anyway to help save some time. This is basically the essential liquid to ensuring your model comes together one way or another and is basically plastic glue. Not only that, but it’s a very useful tool for repairing broken plastic parts or filling up seams, since it essentially bonds plastic together while melting it. When using cement, be sure to keep a window open cause it’s essentially thinner in a bottle.
4.Sandpaper/ sanding sticks

This is basically to help you achieve a smooth finish on any areas where you make cuts. Grab a piece with the right grit, rub it on the part until you’re satisfied, and you’re done. I personally use P400 and P800 grit most of the time but be aware that P400 could potentially destroy plastic if you shave it too much.
5. Putty
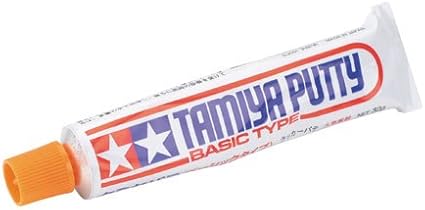
I don’t use putty very often and it’s not in this tutorial, but I’ll just very briefly say that plastic putty help to fill in some large seams where possible and is basically dissolved plastic. It’s useful for filling holes or patching up any damaged areas, though it does get finicky to use since it dries very quickly. If needed, you may want to use some thinner to thin it down to your preference.
6. Paint

Once again, I won’t go over this in much detail since there are better painting guides out there, but paint is pretty much essential unless you wish to display your tank model as a gray prototype with bare plastic. In scale modelling, there are 3 types of paint: acrylic, lacquer and enamel. Enamel is typically used for small parts and I do not recommend using it for large areas due to its rather sticky nature. Lacquer paint is wonderful for airbrushing and usually gets a smooth finish. The problem is that you might want to thin it down quite a bit and it’s the most toxic of the three. (This is also why I recommend buying a spray booth and a gas mask if using an airbrush.) Acrylic is somewhere in the middle, where it’s sometimes ok for brush-painting, and works well while airbrushing. I personally only use lacquers for airbrushing large parts, while I use enamel for weathering and detailing. Acrylics are used in both contexts depending on the situation, but it also takes some time to dry. Keep in mind that you will need to buy appropriate thinners for appropriate paints as well. The only exception would probably be Tamiya acrylics which work well with lacquer thinners in my experience.
7. Airbrush

This is optional and depends on whether you can brush-paint (I can’t.) As its name suggests, an airbrush is used for spraying paint on a model where applicable. I’m not a whiz with airbrushes so I won’t say much about them, but there are some good tutorials on the web teaching you how to use them effectively. The only advice I’d give is to thin your paints and clean your airbrush.
8. Mark fit/ softener

If working with waterslide decals, then keep in mind to use these to ensure the decals stick to the plastic. Simply apply a few drops where you wish to stick a decal and you’re set. Not much to say here.
9. Other random tools e.g. pin vise, scribe, chisel, weathering tools etc.
As a beginner, I would advise discretion as to whether you want to use them or not (it depends on you) but I would suggest that you master the know-hows of the first 8 tools and solvents before getting to these.
That’s all I have for some basic information regarding the tools needed for scale modelling. On to assembly!
