In this guide, I’m going to cover some basic essentials that everyone should know while assembling a plastic model. To demonstrate this, I’ve got my trusty 1/35 M26 Pershing as a demonstration model.
Since most of the steps will be identical for most of the parts, I’ll be focusing on how to remove the wheels from the sprues since one of the most finicky procedures is sanding down the nubs on wheels so that they can actually roll.
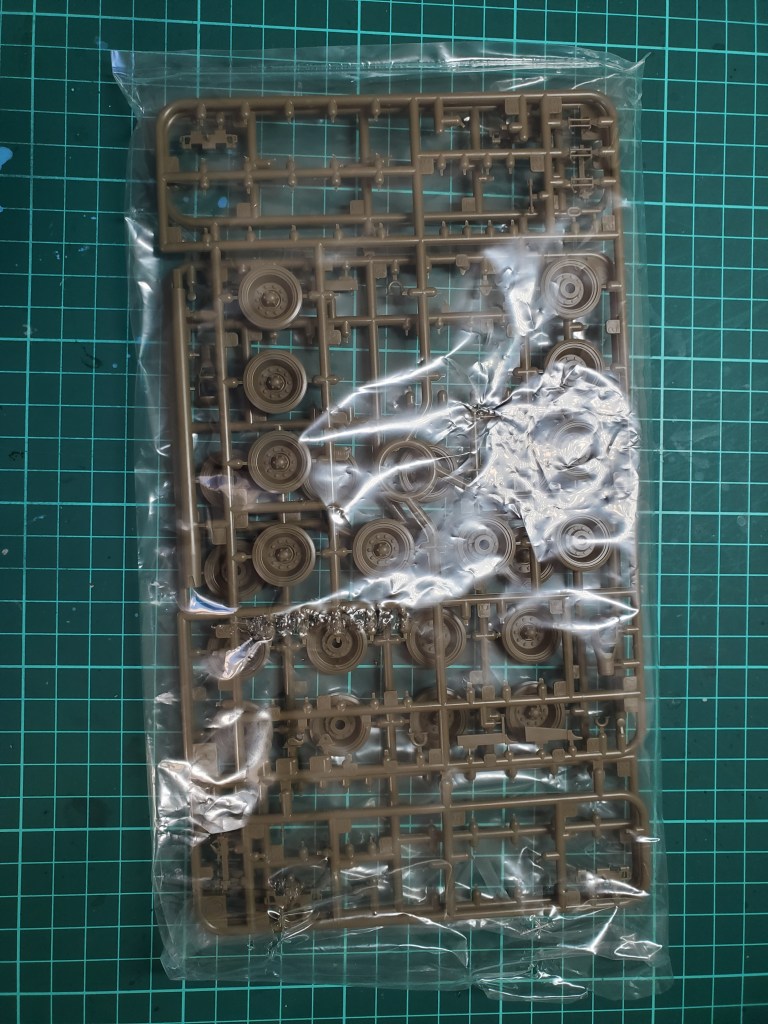
The first thing you see on the sprue is probably the rack of wheels. You’ll see how each wheel is attached to the plastic gate via a small strip of plastic. Unless the instructions tell you to do otherwise, cut the wheel from the sprue at a point on this strip using your nipper.
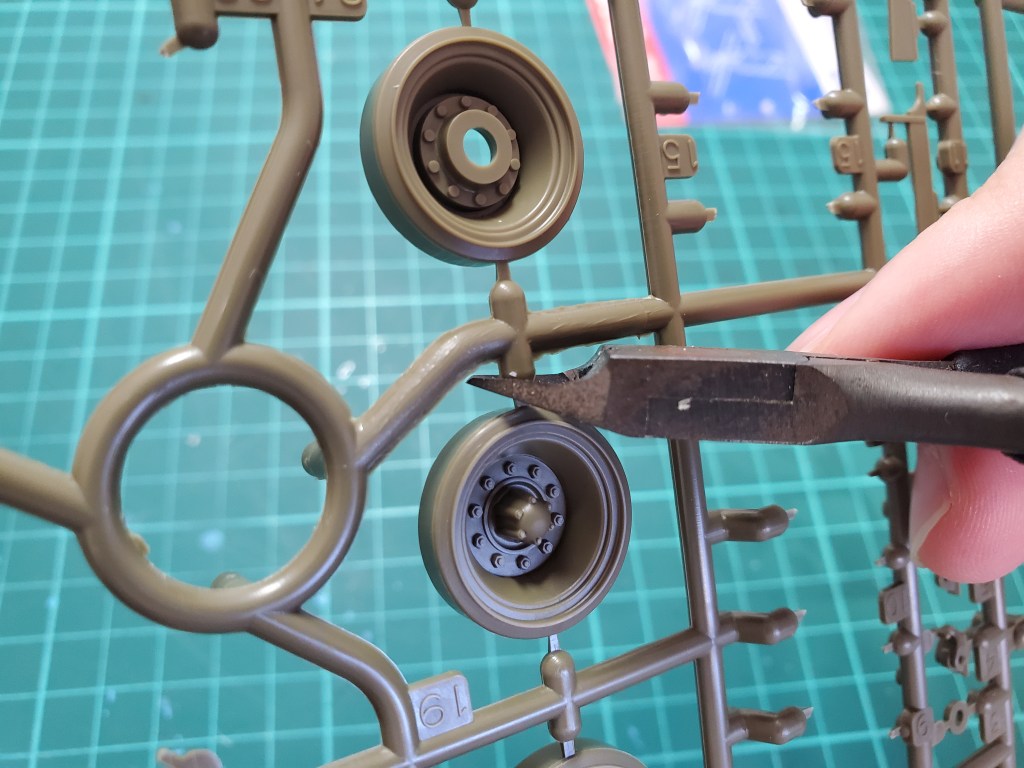
There are some who would cut off a large chunk of plastic to go with the wheel, before cutting and sanding the nub down with nippers and sandpaper. I personally like to cut as close to the wheel as possible, to avoid too much cleanup while also ensuring that the cut doesn’t leave a massive mark on the plastic.
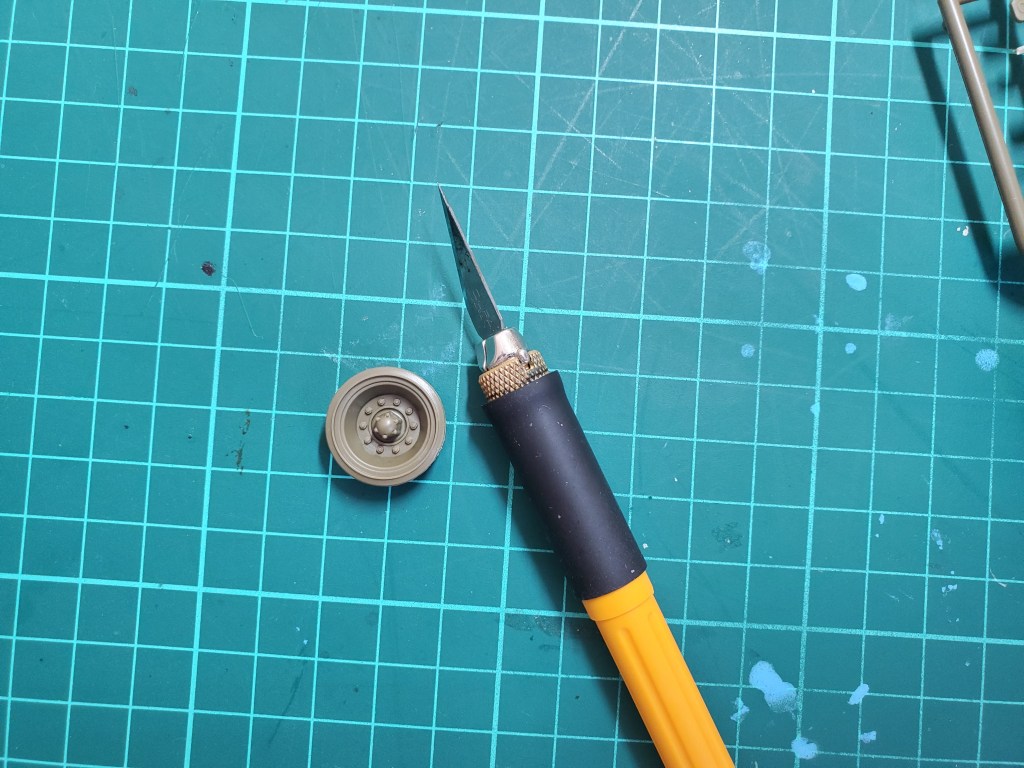
Once you’re done with that, the next logical step would be to use a hobby knife to carefully remove the nub by slowly shaving the plastic bits off. Keep in mind where you place your fingers while doing this and try to have your knife facing outwards to avoid any unnecessary injuries. Also, avoid shaving too much plastic off or you’ll be left with a gaping hole.
When you’re satisfied with your handicraft, it may or may not be time to bring in the sandpaper. If you believe that sandpaper is not necessary, then feel free to attach the wheel to the main body. If not, it may be necessary to use some sandpaper to smoothen the surface.
When using sandpaper, I would advise using different grits, from lower grits (rougher) to higher grits (smoother) to avoid over-sanding parts, and to ensure a smooth, flat surface.
I personally recommend starting with something rough like 400 or 600 grit sandpaper, then 800 grit, before maybe 1000 grit if you want a really smooth surface. 2000 grit is really reserved for polishing parts, which is unnecessary if you’re going to paint the part anyway.
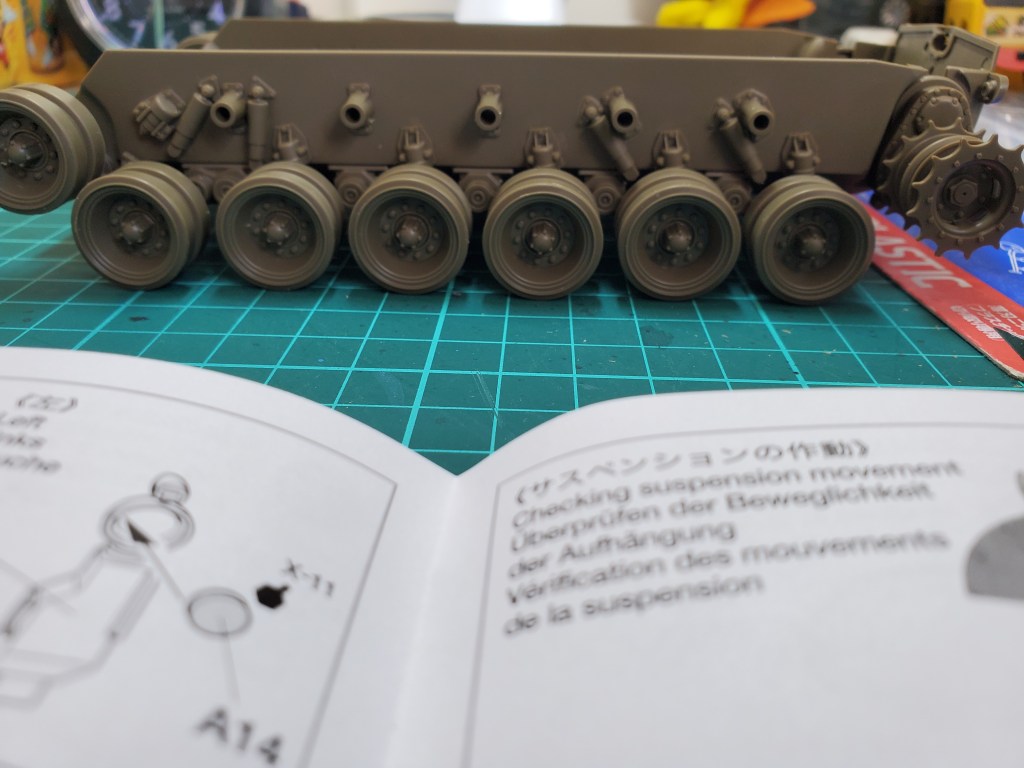
That’s pretty much it for preparing parts for assembly. The rest is basically following the instruction manual and putting parts together using plastic cement. It’s like gluing bits together. If anything I would advise slight caution when using the cement on brittle parts, to avoid completely melting them. Also, if parts are too small, use superglue instead of cement.
